Managing forwarding – Outlook 2019 (macOS)
The following instructions describe how to manage email forwarding in Outlook for macOS.
Emails from an address within Uppsala University’s shared Exchange server can only be forwarded (redirected) to another email address within the shared Exchange organisation.
Enabling a rule
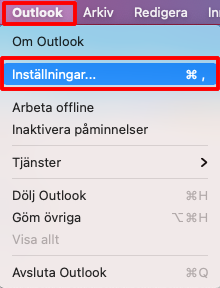
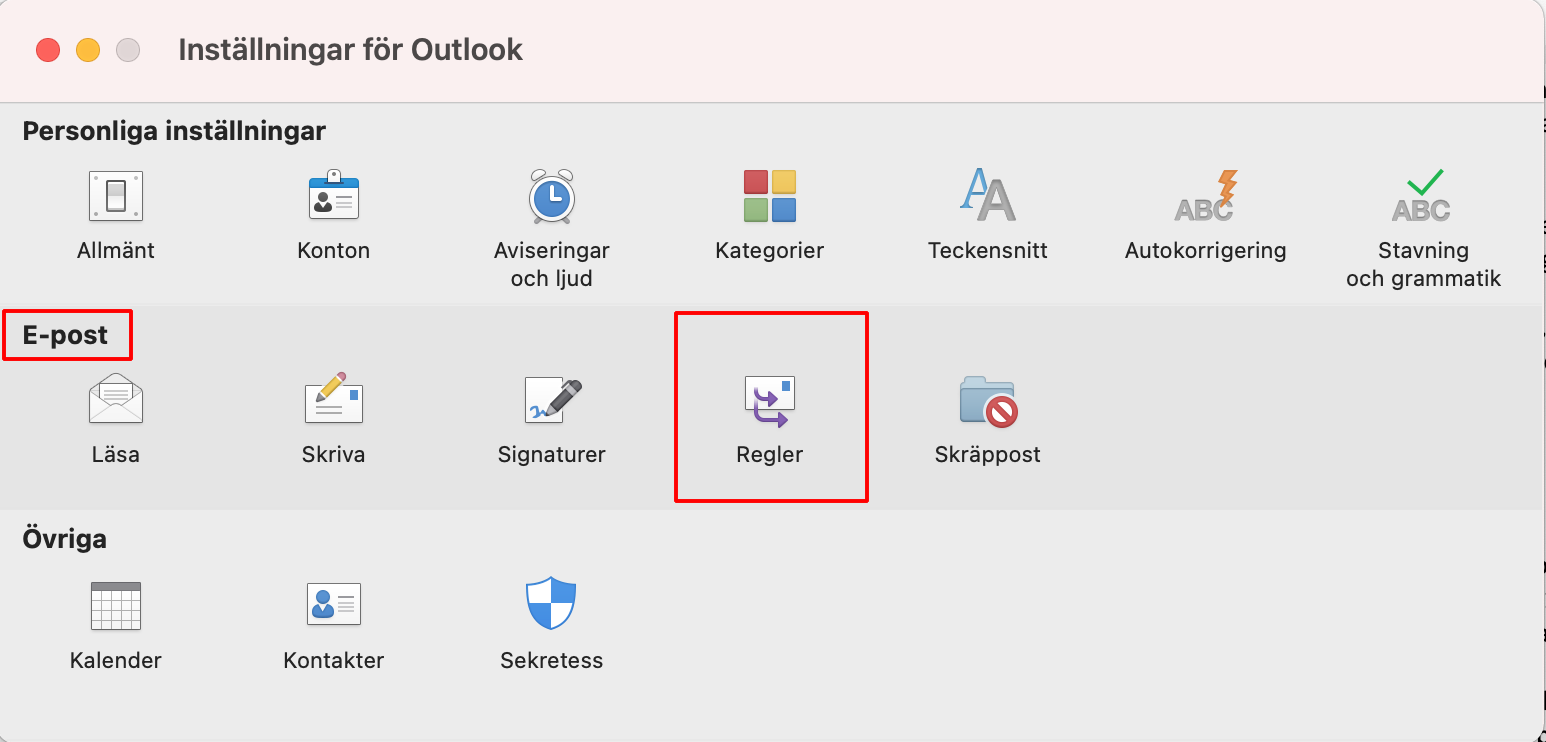
- Click on the “Outlook” tab and select “Settings”.
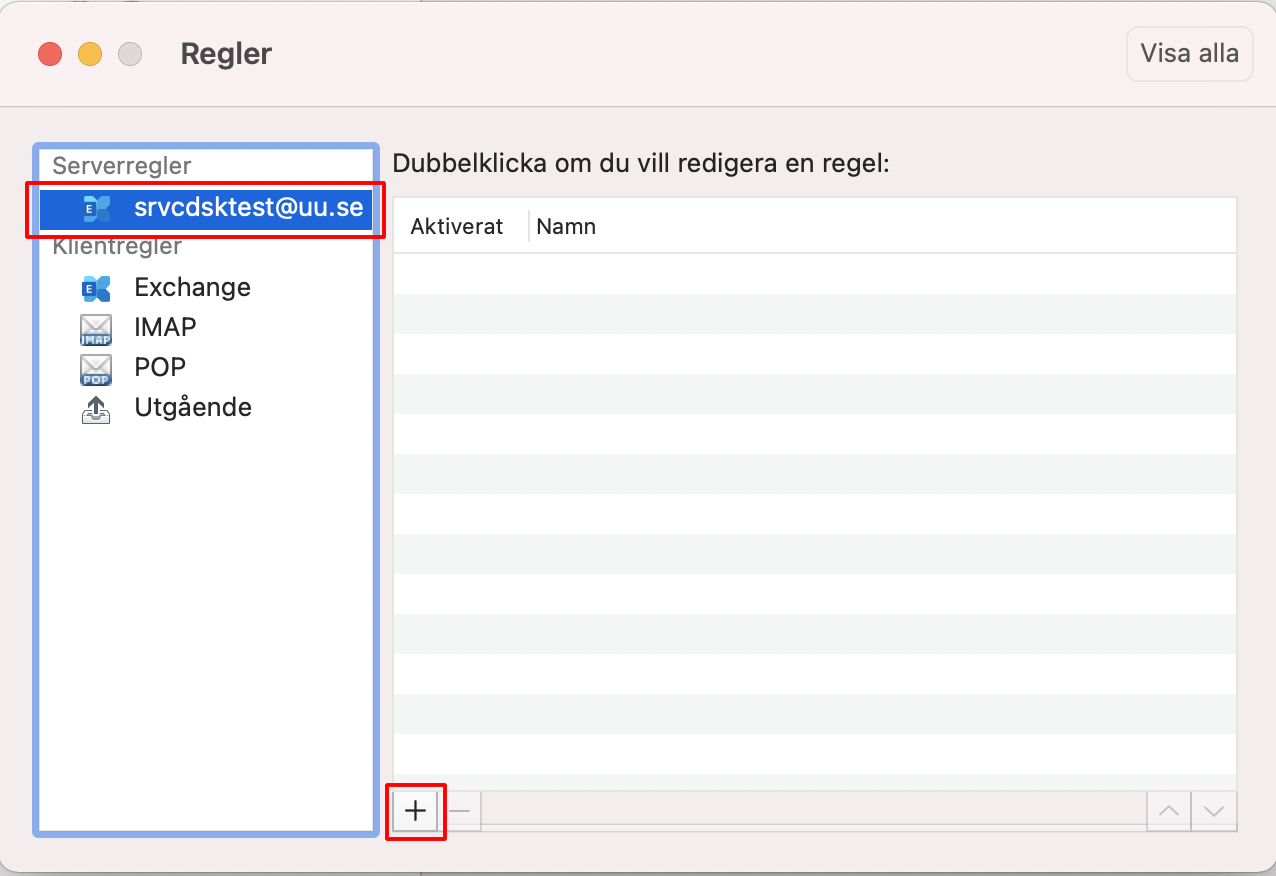
- At “Email” click on “Rules”.

- Select the account where you want to add a rule (forward/redirect) and click “+”.
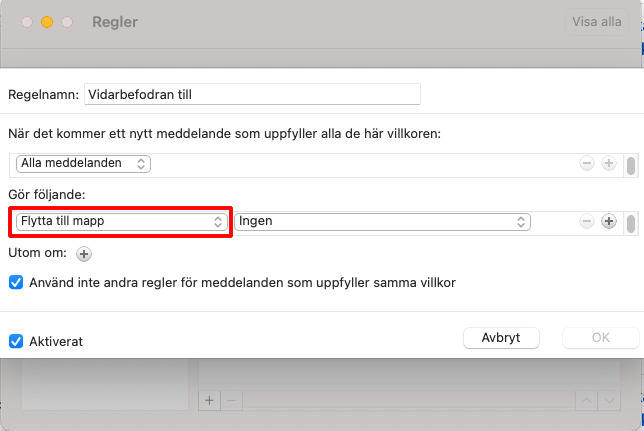
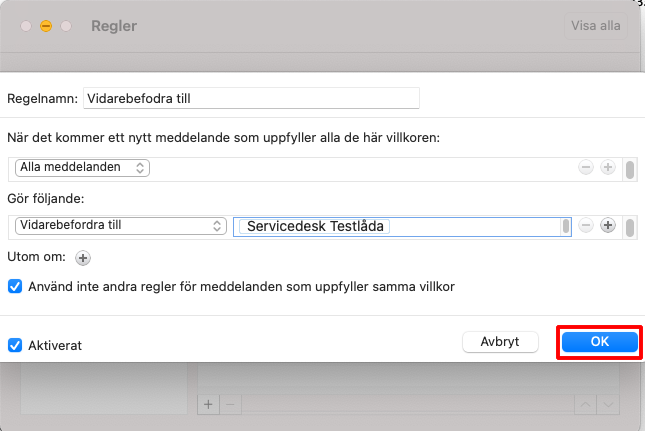
- Give the rule a name at “Rule name”. Click “From” at “When a new message arrives ...”
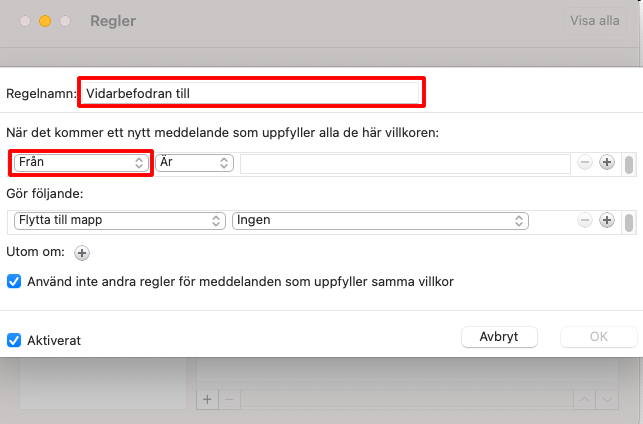
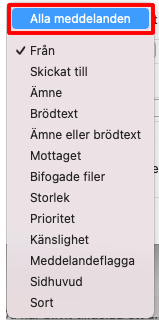
Select “All messages”.
- Click on “Move to folder”.
- Select “Forward to” or “Redirect to”.
The difference – and similarities – between automatically forwarding and redirecting incoming messages is as follows:
- Forwarding messages
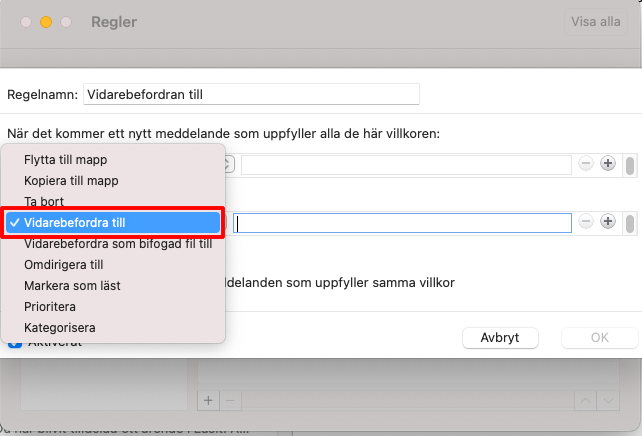
When a rule automatically forwards a message you receive, the rule adds the provision: “FW:” to the beginning of the Subject line, changes the message formatting and forwards the message to the account specified by the rule.
The recipient sees that the message came from you. A copy of the message you received is left in your Inbox or in the folder to which the message was originally delivered.
- Redirecting messages
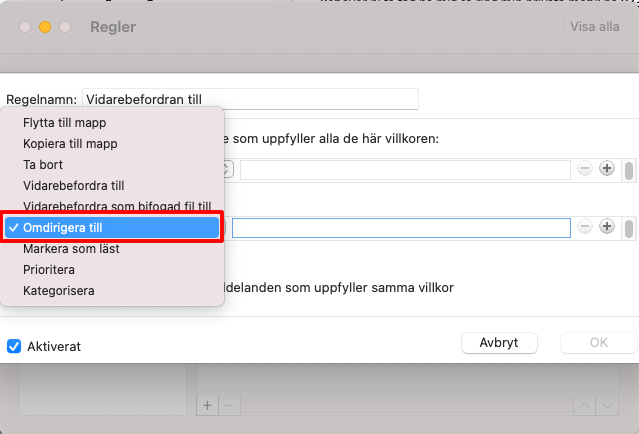
When a rule automatically redirects a message you receive, the message is sent unchanged to the account specified in the rule.
To the recipient, it appears that the message comes directly from the sender. There is no indication that the message has been delivered from your account. However, a copy of the message is left in your Inbox or in the folder where the message was originally delivered.
- In the next field, type the person or functional account name. For forwarding/redirection to work, you need to find and select the name under the heading “Contacts and recently used addresses”.
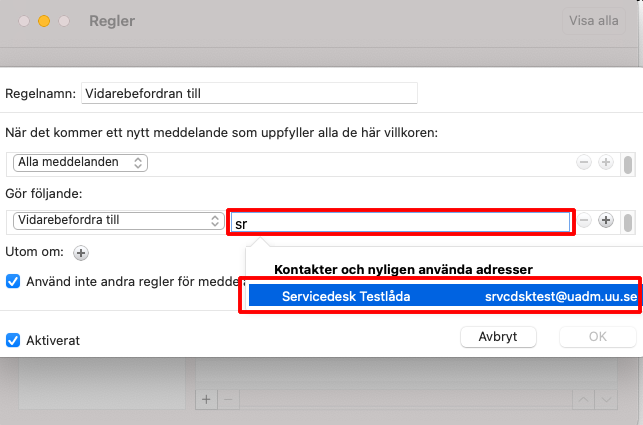
- Then click on “OK”.
Removing/Disabling a rule
To remove or disable the rule, do the following:
- Click on the “Outlook” tab and select “Settings”.
- At “Email” click on “Rules”.
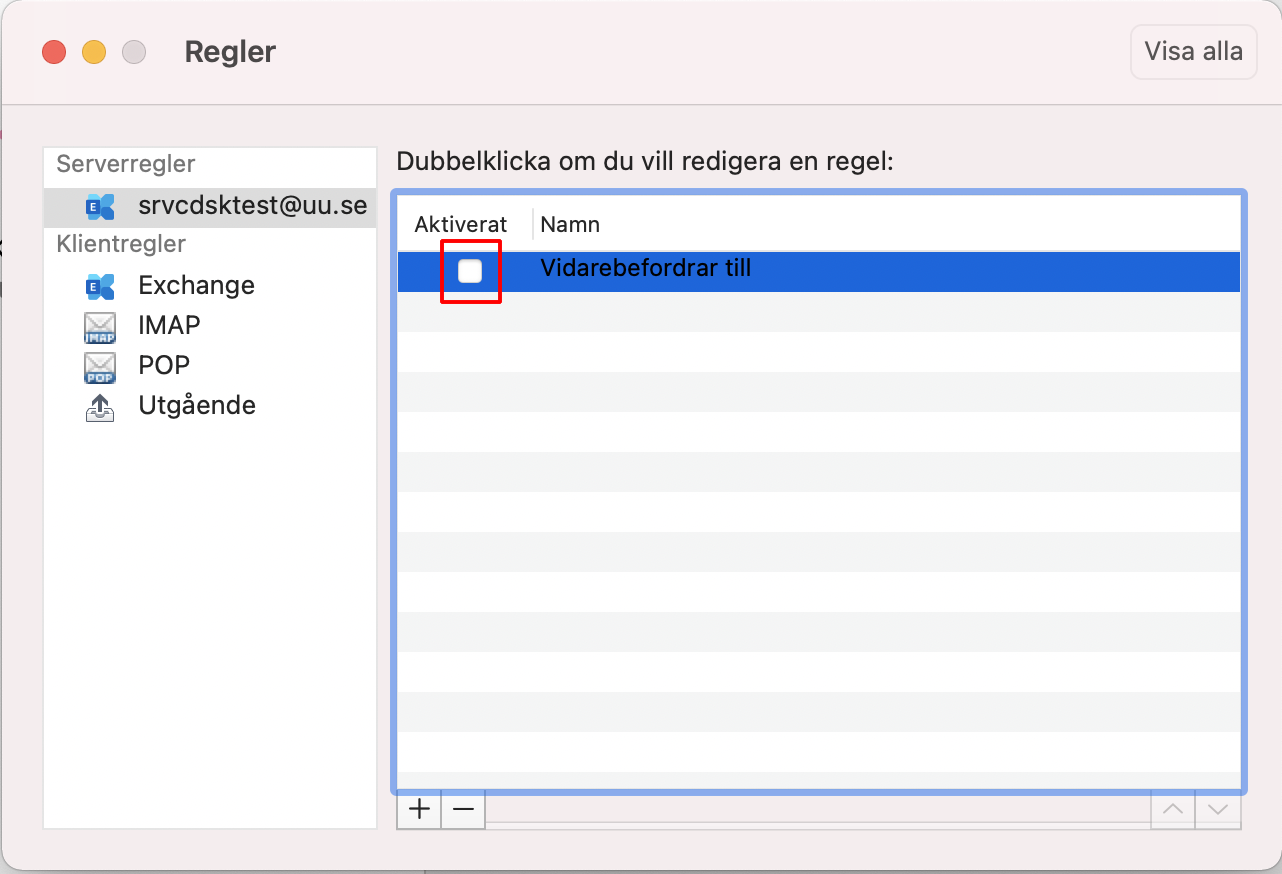
- Select the account where rules are enabled.

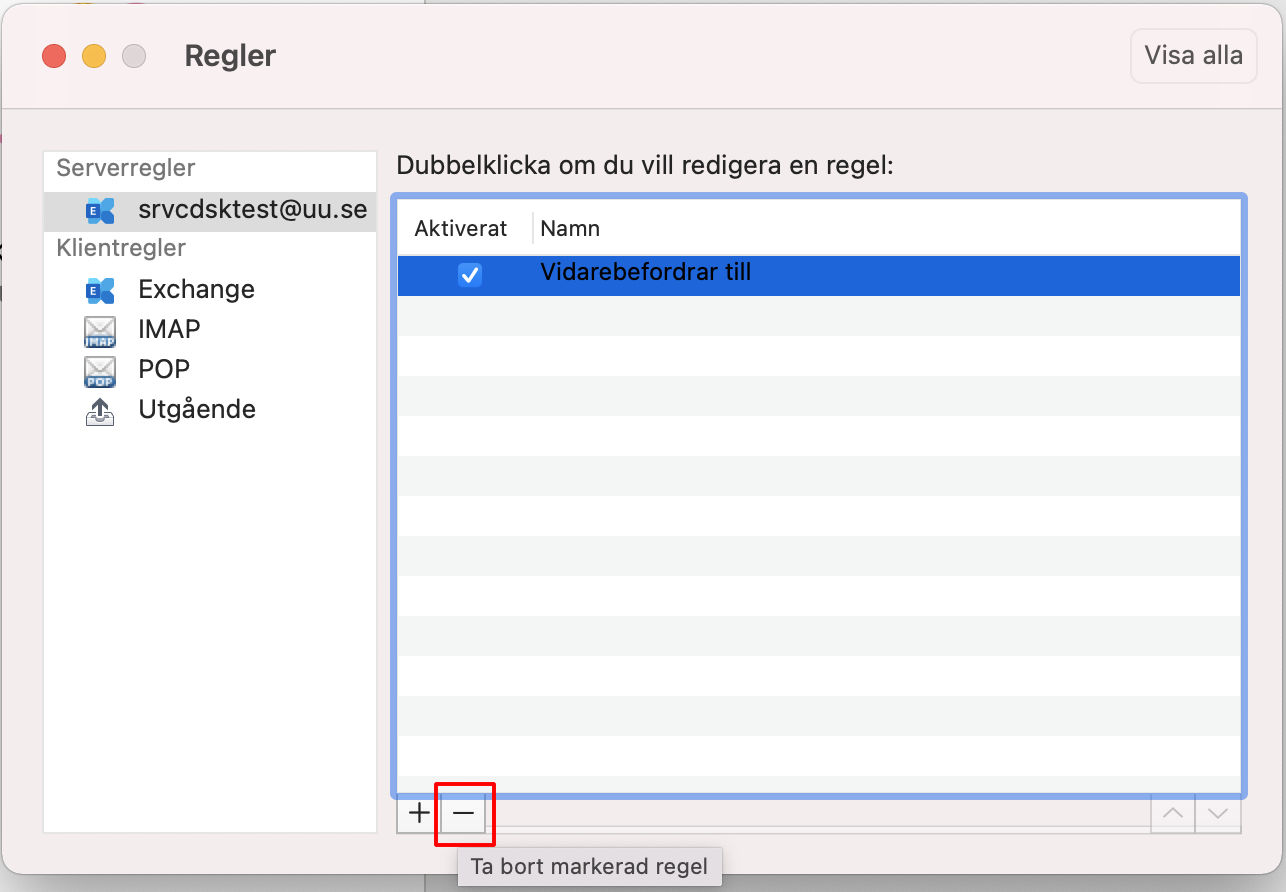
- Select the rule.

- To disable, remove the tick in front of the rule.
- To remove the rule, click on the “-” icon.
______________________________________
Do you have any questions? Contact IT Support